Deployment Instructions for Microsoft 365 KillPhish Add-In
To deploy the Microsoft 365 KillPhish Add-In, please follow the steps below.
Sign in to Microsoft 365 with your work or school account.
Select the app launcher icon in the upper-left and choose Admin.
In the navigation menu, press Show all, then choose Settings > Integrated apps.
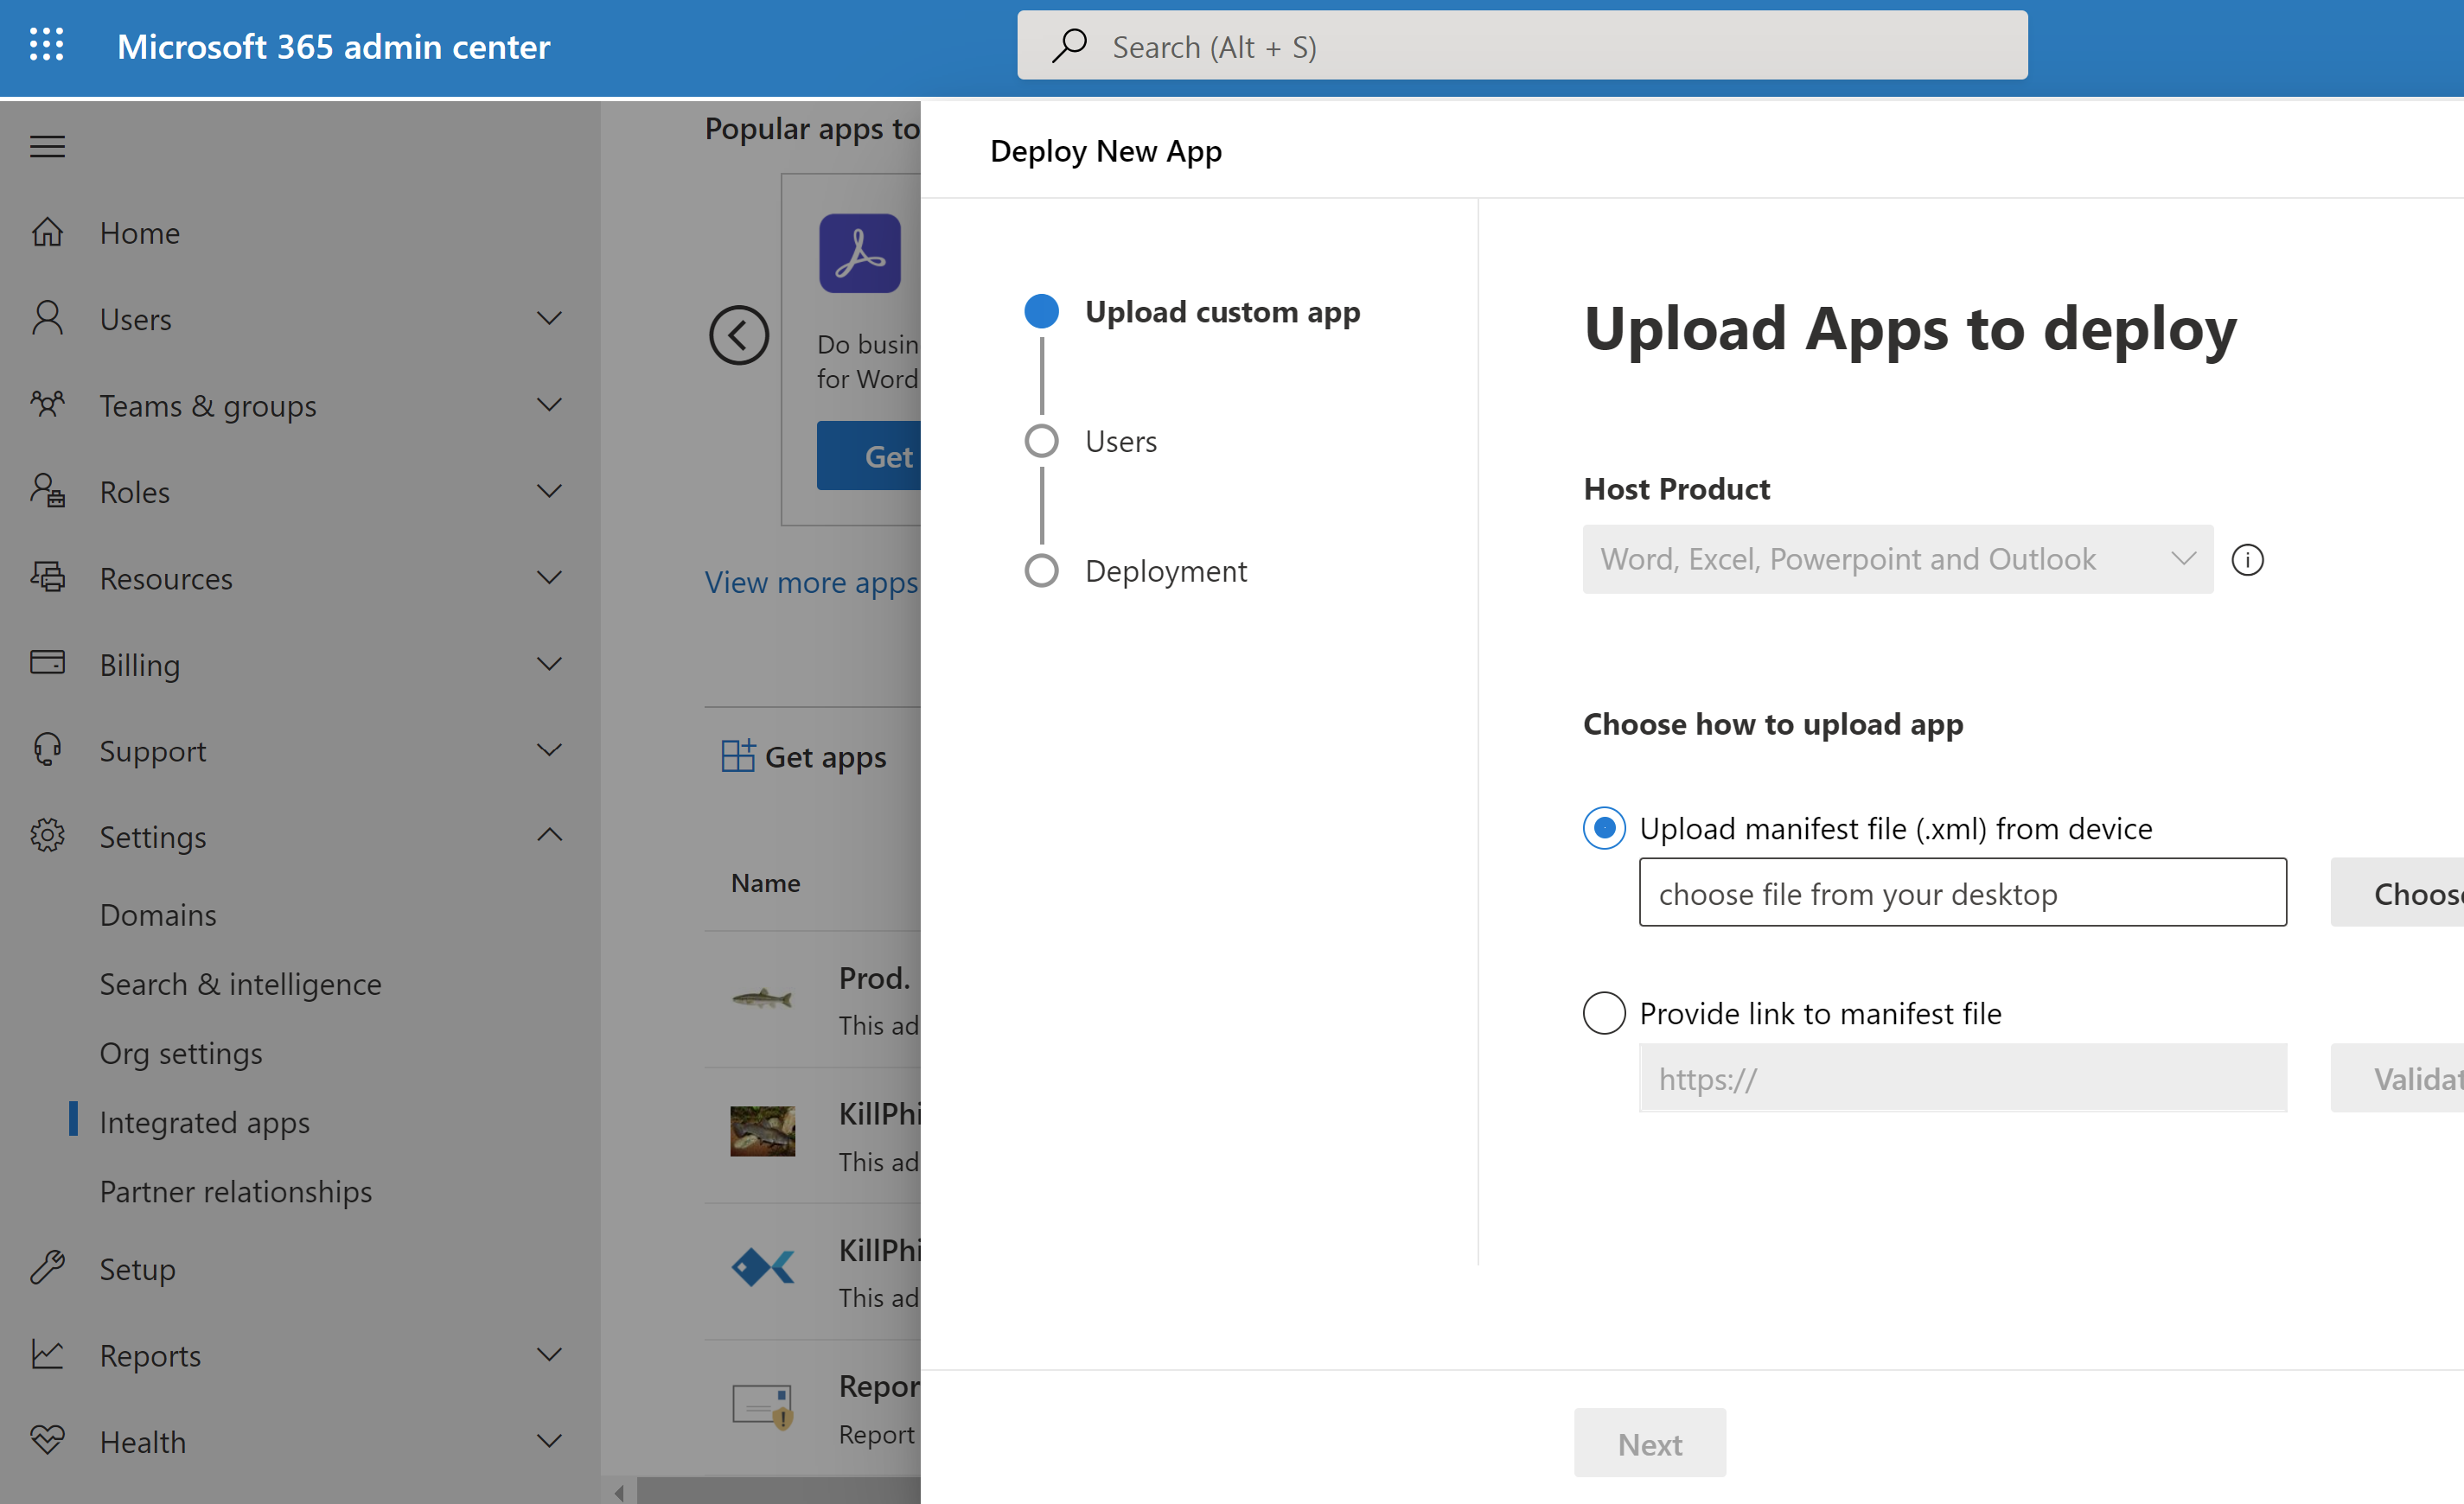
Choose Upload custom apps at the top of the page, beside Get apps.
- Choose Upload manifest file (.xml) from device and locate the manifest file. The manifest file can be downloaded from the Microsoft Add-In (KillPhish) tab on the Reporting Settings page in Portal.
Choose Next after Microsoft has had time to validate the manifest.
On the Edit who has access page, choose Everyone, Specific Users/Groups, or Only me. Use the search box to find the users and groups to whom you want to deploy the add-in.
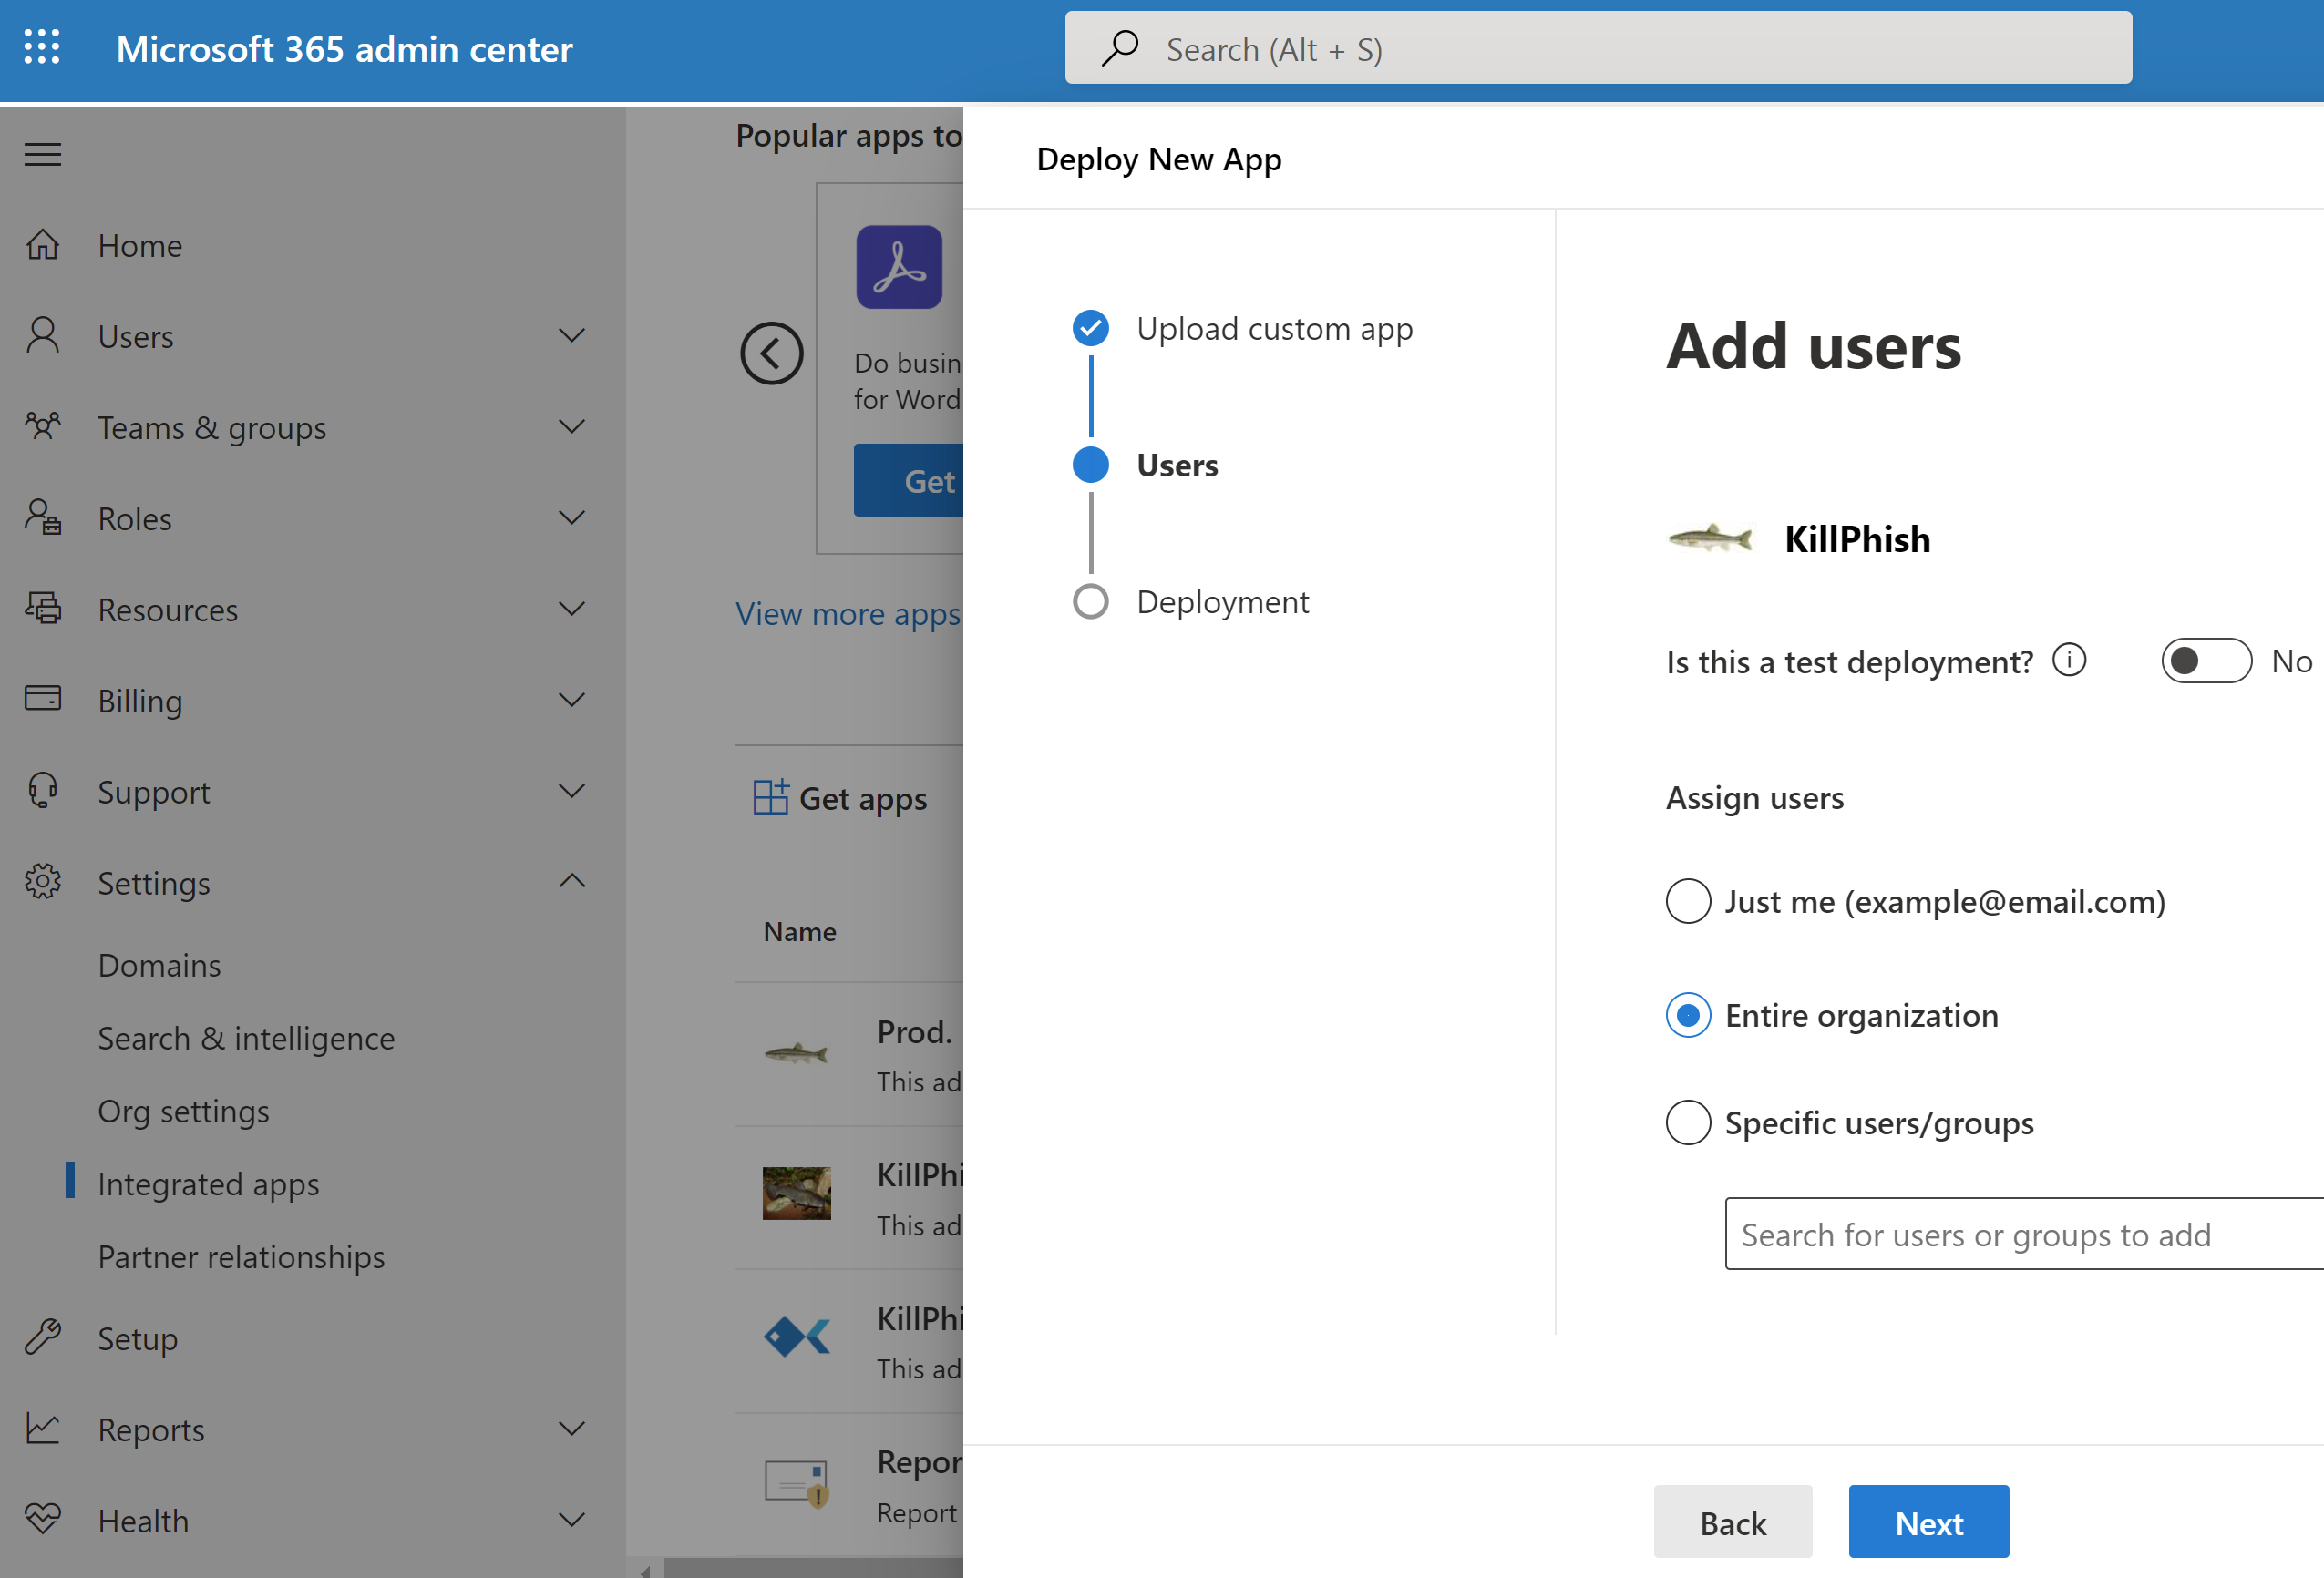
When finished, choose Next. You must consent to the permissions required by KillPhish by clicking the Accept permissions button.
When finished, choose Next to begin deployment of the add-in. This process may take up to three minutes. Then, finish the walkthrough by pressing Next. You now see your add-in along with other apps in Microsoft 365.
Please Note: Outlook add-ins can take up to 24 hours to appear on users' ribbons.
© 2026 PhishingBox, LLC.